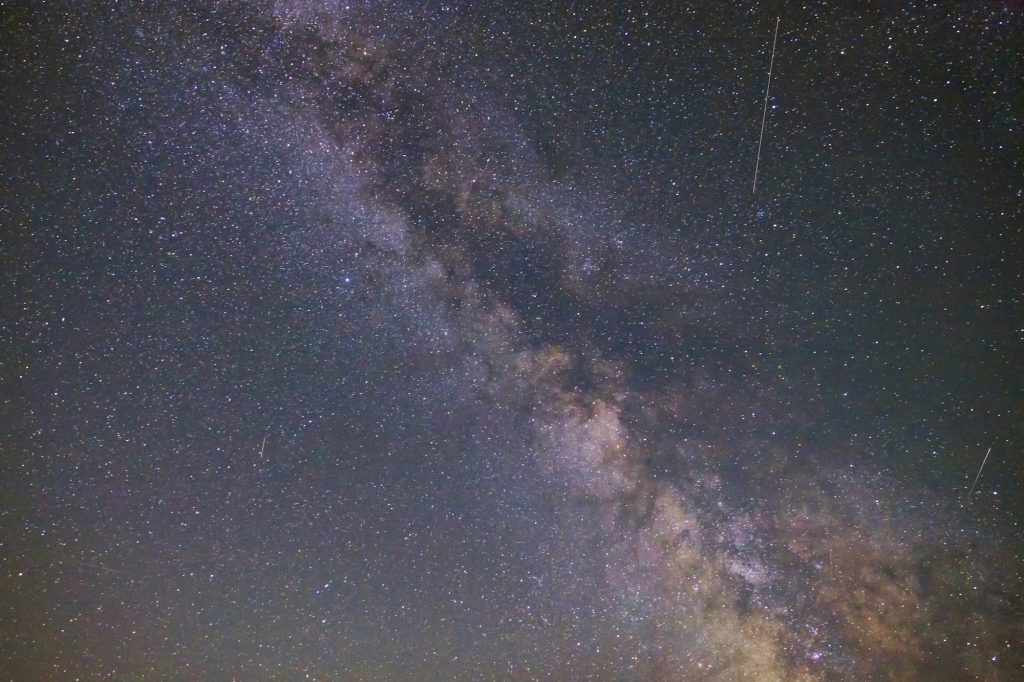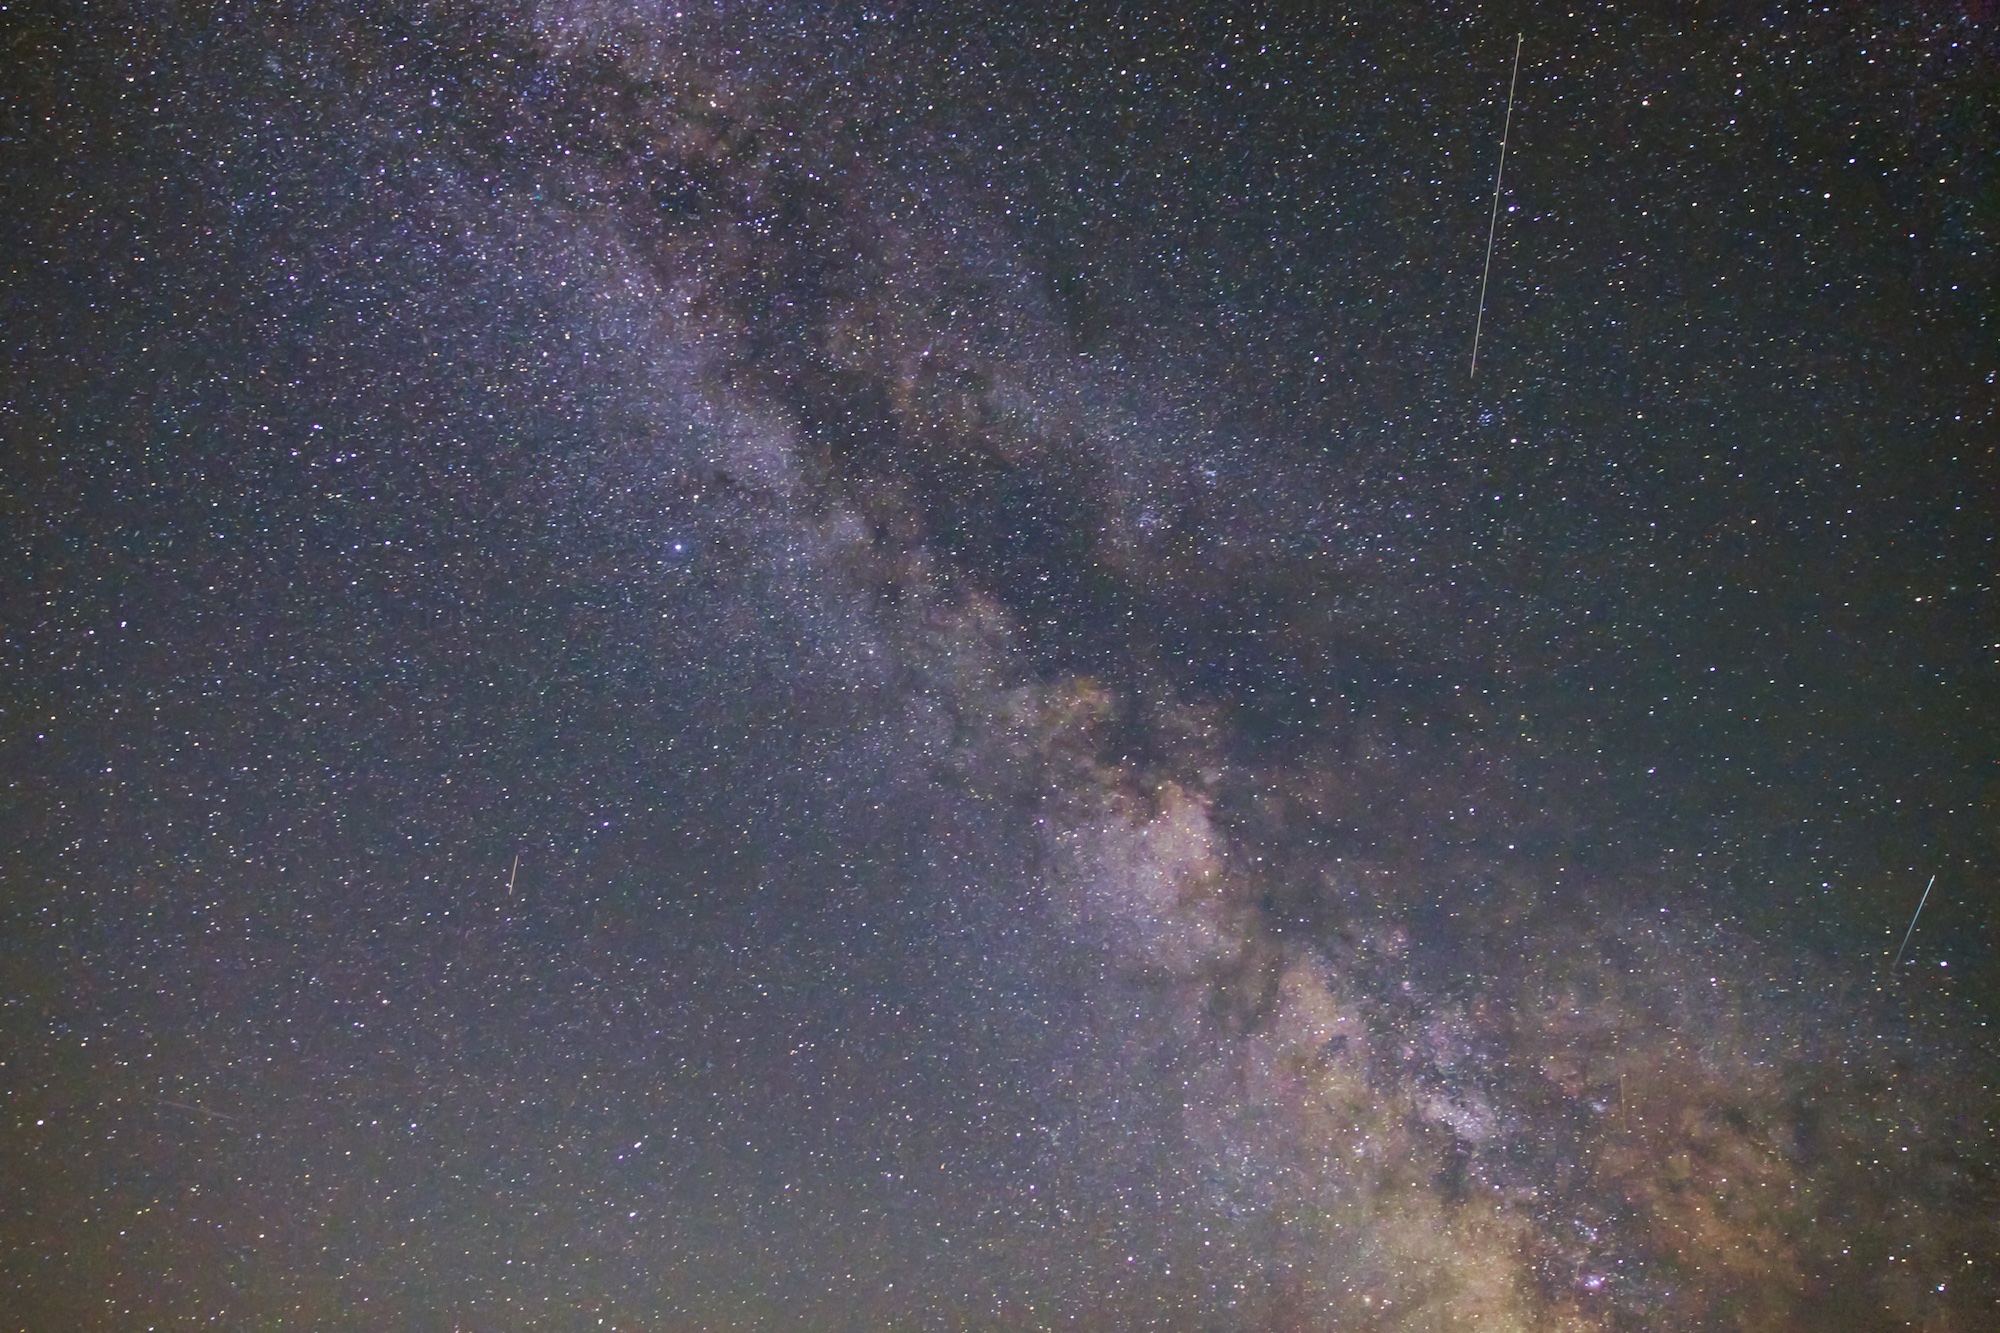
I’m really fortunate to live in a region of the world with pretty dark skies. And, I’ve got pretty nice camera gear that we use to make all our YouTube videos. But for some reason, I’ve never been able to take an acceptable photo of the Milky Way, and I wasn’t exactly sure where I was going wrong. Turns out… I was going wrong everywhere; wrong exposure, aperture, ISO, JPG vs RAW.
I finally reached out to two of the best astrophotographers I know, Cory and Tanja Schmitz from PhotographingSpace.com. Both are world-class astrophotographers, with amazing shots of the Milky Way, galaxies, star clusters, nebulae and other deep space objects. And you should see their timelapses. They generously agreed to give me direct advice using the gear I have available, and then helped turn the raw photos into something usable through Photoshop (which is another area of dark wizardry).
I ended up using my Canon 5D MkII camera, which we shoot all our Guide to Space videos on. I tried taking pictures with its regular lens, and then got better results with a Rokinon 14mm lens that I actually don’t really use very often. It’s the wide angle lens we use in the car driving up to Comox Lake.
I captured the image at f/2.8, 30 second exposure, ISO 3200. Our shooting location had pretty dark skies, but it was earlier in the evening, and there was some light pollution off to the southern skies.
Here’s the final collaboration video, where Tanja and Cory give me their advice on which gear to use, how to set up and take the picture, and then how to clean it all up in Photoshop afterwards.
This is just the beginning of a whole new rabbit hole hobby for me, so hopefully you’ll see me improve over time as I learn to get more out of my gear, and find darker and darker skies.
Of course, you should check out Cory and Tanja’s PhotographingSpace.com, follow them on Instagram, and begin your own journey of learning how to shoot the night sky.


Great photo, Fraser. What are the streaks? Meteors or planes? If you ever get the opportunity, travel to La Palma in the Canary Islands and get as high up the volcano as possible. I was there a couple of weeks ago, and the night skies are fabulous – best seeing in Europe. The summit known as Roque de los Muchachos has a whole array of optical telescopes. Amazing place!
Good stargazing – live long and prosper!
They’re satellites. So many satellites. I’d love to see the skies from La Palma, I know there are plenty of observatories there, enjoying those dark skies.
Obviously – satellites! (Why didn’t I think of the obvious?)
Here’s something that puzzles me: in the wee hours of the nights before, during and after this year’s Perseid maximum, although I spent many hours staring up in the general direction of the Milky Way from La Gomera (stunningly beautiful Canary island south-east of La Palma) and saw many meteors, I never saw a single satellite. Not one! Usually, if I’m in southern France or Italy – or even here in the Netherlands with massive light pollution – I regularly see satellites moving in equatorial and polar orbits. Why none above the Canary Islands? Can anyone shed light [pun intended] on this invisibility of satellites?
Cheers, Rob
Lucky you to have such great view of the sky. Unfortunately, I do not have anything near that.
Regarding shooting night sky, things are quite simple and here are all simplified:
0) Put a camera on a tripod.
1) Use “rule of 600”. Divide 600 with your lens focal length. If that is 20 mm, 600/20 = 30 seconds. Switch it to manual and set exposition to 30 seconds. (you may try with 25 or 20 as well)
2) Set the focus manually. This will be sometimes hard to do. I use magnification and I am focusing on some of the bright stars. Find a bright star. Use a zoom to magnify star. Use a magnifying glass to magnify camera screen. Focus the star until it is sharpest as possible.
3) Last is “film sensitivity”, given as ISO number on digital cameras. Start with 3600 and go down. Lower the number less the noise. Lower is better, it is hard to get rid of the noise in this case.
That is it! Shoot in RAW so you can do fine post-process adjustments.
(I forgot aperture, try going with the largest number possible – that means more open lens, but not to open because corners will be somewhat blurred. If your lens can do f/2, try with 3, or 4)
In the words of Bill Murray, “Oh, that’s useful!” Thanks for the great video, Fraser, and nice job.