
Everybody loves pictures of the northern lights! If you’ve never tried to shoot the aurora yourself but always wanted to, here are a few tips to get you started.
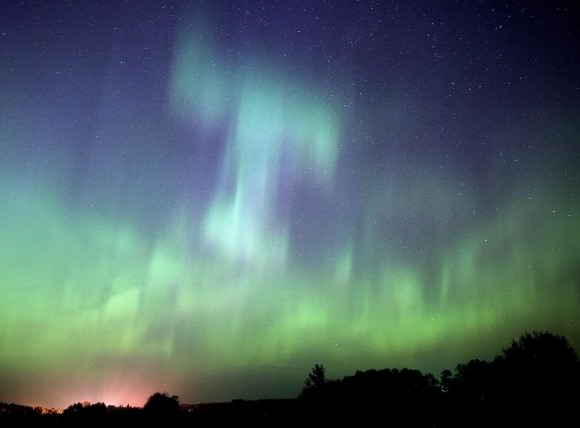
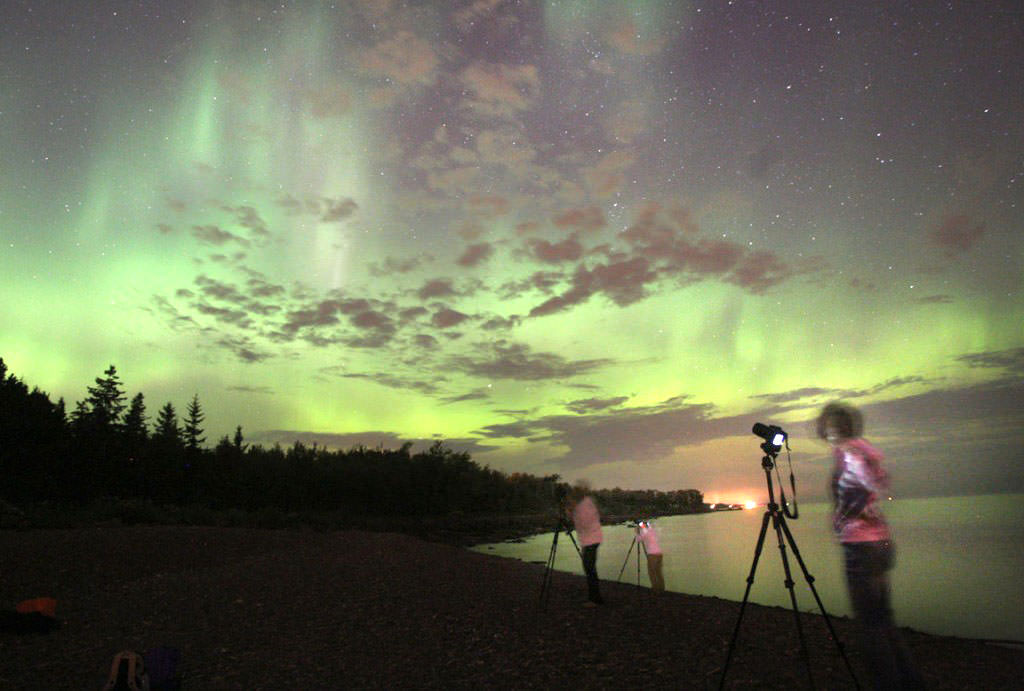
The strong G3 geomagnetic storm expected tonight should kick out a reasonably bright display, perfect for budding astrophotographers. Assuming the forecasters are correct, you’ll need a few things. A location with a nice open view to the north is a good start. The aurora has several different active zones. There are bright, greenish arcs, which loll about the northern horizon, parallel rays midway up in the northern sky and towering rays and diffuse aurora that can surge past the zenith. Often the aurora hovers low and remains covered by trees or buildings, so find a road or field with good exposure.
Second, a tripod. You can do so much with this three-legged beast. No better astro tool in the universe. Even the brightest auroras will require a time exposure of at least 5 seconds. Since no human can be expected to hold a camera steady that long, a tripod is a necessity. After that, it comes down to a camera. Most “point-and-shoot” models have limited time exposure ability, often just 15 seconds. That may be long enough for brighter auroras, but to compensate, you’ll have to increase your camera’s sensitivity to light by increasing the “speed” or ISO. The higher you push the ISO, the grainier the images appear especially with smaller cameras. But you’ll be able to get an image, and that may be satisfaction enough.
I use a Canon EOS-1 Mark III camera to shoot day and night. While not the latest model, it does a nice job on auroras. The 16-35mm zoom wide-angle lens is my workhorse as the aurora often covers a substantial amount of sky. My usual routine is to monitor the sky. If I see aurora padding across the sky, I toss the my equipment in the car and drive out to one of several sites with a clear exposure to the north. Once the camera meets tripod, here’s what to do:
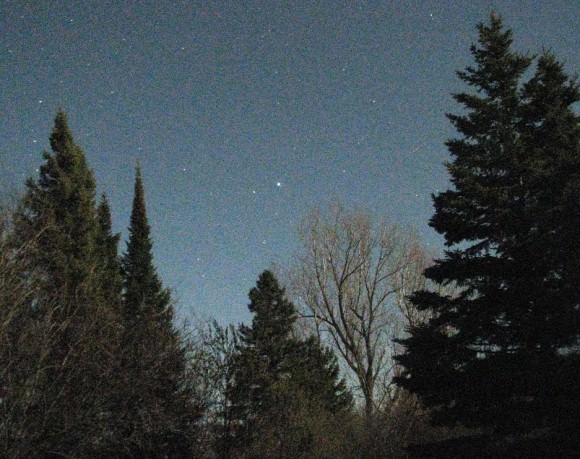
* Focus: Put the camera in manual mode and make sure my focus is set to infinity. Focusing is critical or the stars will look like blobs and the aurora green mush. There are a couple options. Use autofocus on a cloud or clouds in the daytime or the moon at night. Both are at “infinity” in the camera’s eye. Once focused at infinity, set the camera to manual and leave it there the rest of the evening to shoot the aurora. OR … note where the little infinity symbol (sideways 8) is on your lens barrel and mark it with a thin sharpie so you can return to it anytime. You can also use your camera in Live View mode, the default viewing option for most point-and-shoot cameras where you compose and frame live. Higher-end cameras use a viewfinder but have a Live View option in their menus. Once in Live View, manually focus on a bright star using the back of the camera. On higher-end cameras you can magnify the view by pressing on the “plus” sign. This allows for more precision focus.
* Aperture: Set the lens to its widest open setting, which for my camera is f/2.8. The lower the f-stop number, the more light allowed in and the shorter the exposure. Like having really big pupils! You want to expose the aurora in as short a time as possible because it moves. Longer exposures soften its appearance and blur exciting details like the crispness of the rays.

* ISO speed: Set the ISO to 800 for brighter auroras or 1600 for fainter ones and set the time to 30-seconds. If the aurora is bright and moving quickly, I’ll decrease exposure times to 10-15 seconds. The current crop of high end cameras now have the capacity to shoot at ISOs of 25,000. While those speeds may not give the smoothest images, dialing back to ISO 3200 and 6400 will make for photos that look like they were shot at ISO 400 on older generation cameras. A bright aurora at ISO 3200 can be captured in 5 seconds or less.
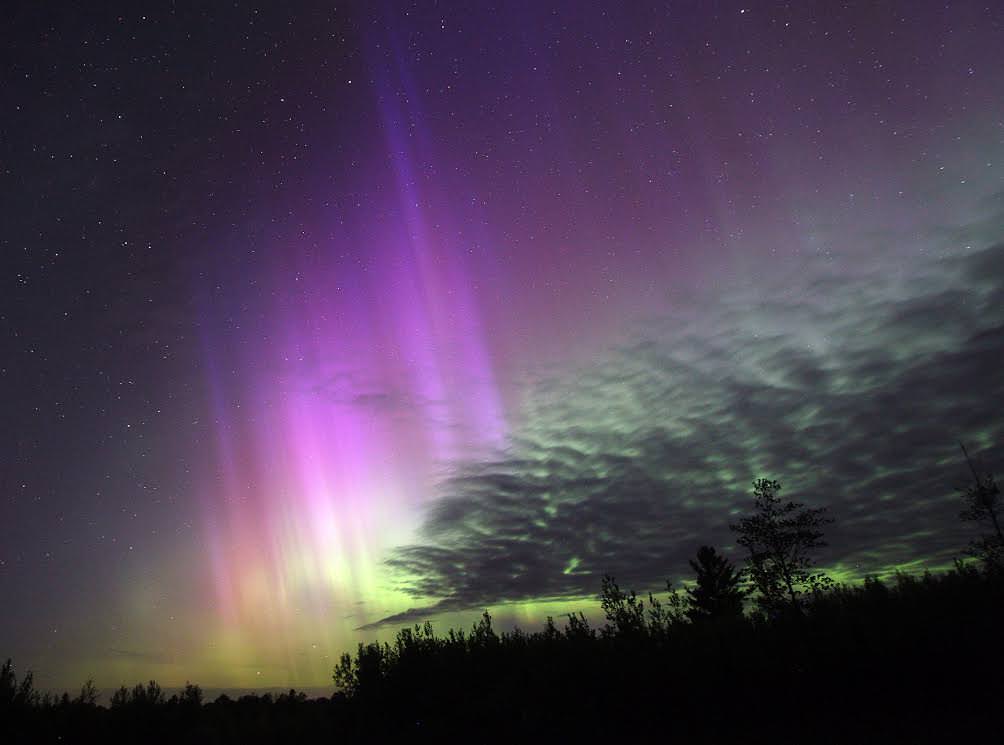
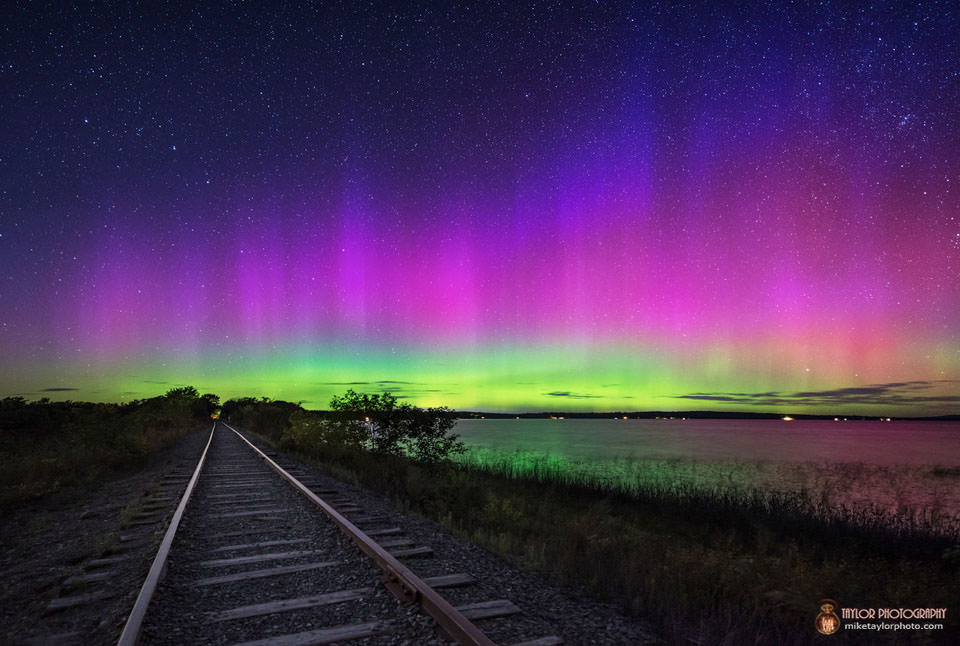
* Framing: Compose the scene in the viewfinder or monitor. If you’re lucky or plan well, you can include something interesting in the foreground like a building, a picturesque tree or lake reflection.
* Press!: OK, ready? Now press the button. When the image pops up on the viewing screen, does the image seem faint, too bright or just right. Make exposure adjustments as needed. If you need to expose beyond the typical maximum of 30 seconds, you can hold the shutter button down manually or purchase a cable release to hold it down for you.
It’s easy, right? Well then, why did it take me 400 words to explain it??? Of course the magic happens when you look at the monitor. You’ll see these fantastic colorful forms and ask yourself “did I do that?”
Have fun and good luck in your photography.